The Crack You Can't See: A Home Fatigue Check for Ageing Minilites
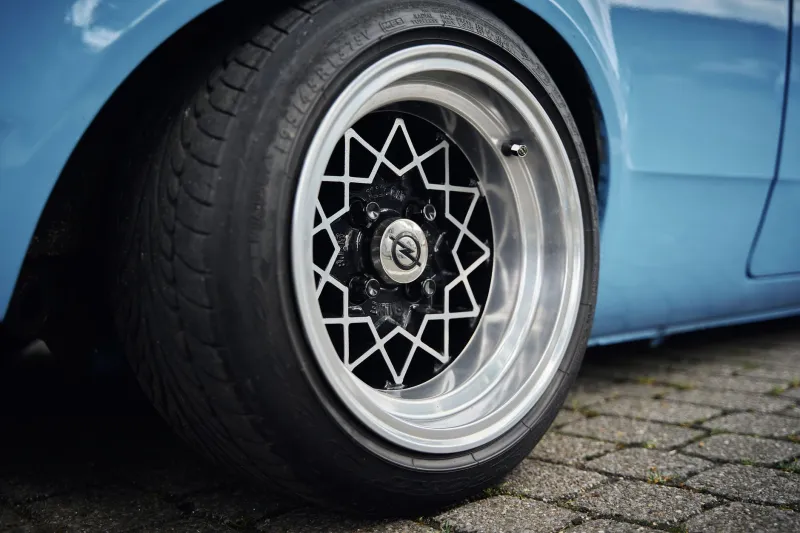
Photo: Candy Stevens, Angie Bolton, 2007-03-30 11:18:51, CC BY-SA 2.0, via Wikimedia Commons
There is a particular kind of optimism that comes with old alloy wheels. They have survived decades of use, so they will survive another decade, right? Usually, yes. But fatigue cracks in cast wheels are not always dramatic. They start small, often in places you cannot see with the wheel on the car and the tyre fitted. The point of this piece is not to make you frightened of your Minilites. It is to give you a routine that separates patina from peril.
Why Cracks Pick the Places They Do
A wheel is a structure that gets loaded in cycles. Every corner, every pothole, every kerb strike sends load through the spokes and into the hub. Over time, small defects, corrosion pits and casting imperfections can turn into cracks. The usual suspects are the spoke roots where the spoke meets the hub or the rim, the bead seat area where the tyre sits, and the shoulders around the stud holes.
Magnesium wheels have their own issues, and a magnesium Minilite with white powder is a different conversation. For aluminium Minilites, the risk is lower but not zero. Age, poor repairs, kerbing and overtightened nuts all shorten the odds.
Clean First, Then Look
The most useful inspection tool you own is a bucket of hot soapy water. Brake dust, old grease and road grime hide everything. Remove the wheel from the car. Ideally, have the tyre removed, because the bead seat and the inner barrel are where the nasty surprises live. If you cannot do that, inspect what you can see and accept that you are only getting half the picture.
Wash the wheel with a soft brush and a proper wheel cleaner. Degrease the hub face and the stud holes. Rinse and dry thoroughly. Do not use a wire brush on the alloy. A stiff nylon brush is fine. Once it is dry, work in good daylight with a torch and a magnifying glass. Look at the wheel from both sides, and look at the inside of the spokes as well as the outside.
The Three Zones
First, the spoke roots. Follow each spoke into the hub and out to the rim. Look for fine dark lines, staining or a change in texture. A crack often looks like a hairline that has collected dirt.
Second, the bead seats. This is the area where the tyre bead sits. Look for corrosion, tyre-lever damage and cracks running along the flange. A crack here can cause a slow leak or, worse, a sudden failure.
Third, the stud-hole shoulders. Look at the countersink and the flat face where the nut sits. Cracks can radiate out from the hole. If you see a crack, stop. Do not tidy it up with a file and hope.
Dye Penetrant at the Kitchen Table
Dye penetrant inspection is not just for aerospace engineers. You can buy a basic aerosol kit for home use. It comes with a cleaner, a coloured penetrant and a developer. The process is simple: clean the area, apply the penetrant, let it dwell, wipe it off, spray on the developer, then look for the dye bleeding out of a crack.
It works best on bare metal. Paint and powder coat will mask defects, so you may need to strip a small area if you have a specific suspicion. Follow the instructions on the kit. Wear gloves, work in a ventilated space, and do not spray developer over your best jeans. A small UV torch and a fluorescent penetrant can make cracks easier to see, but a standard red dye is fine for a home check.
Reading the Result Without Scaring Yourself
Not every line is a crack. Casting marks, scratches and paint cracks can all look suspicious. A true crack will usually show as a sharp line with dye bleeding along it. If you are not sure, clean it off and look again with a magnifier. If it still looks like a crack, treat it as one. Get a second opinion from a wheel specialist or an NDT technician. The cost of a professional inspection is small compared with the cost of a wheel failure.
When Patina Becomes Peril
Cosmetic wear is fine. A scuffed rim, faded paint and a few stone chips are part of the story. A crack is not patina. Do not weld a cracked road wheel and call it repaired unless a properly qualified specialist has done the work and you understand the risks. Aluminium can be welded, but the heat treatment and the integrity of the repair are not a DIY job. Magnesium is worse: it burns, and it is not a material to experiment with.
If you find a crack, take the wheel out of service. Use the spare. Put the cracked wheel on the wall or in the scrap pile. The MOT does not inspect your wheels for fatigue cracks, so this is your responsibility. A five-minute check twice a year is cheap insurance.
The Honest Answer
Most old Minilites are fine. They were made well, and they have lasted this long for a reason. But age is not a guarantee. Clean them, look at them properly, and use dye penetrant if you have any doubt. The wheel you save from a crack might be the one that keeps you on the road.