Hibernation Without Harm: Storing a Minilite-Shod Classic Through the Damp Months

There's a moment in every UK classic owner's year when the decision makes itself. The gritters have been out on the A-road, the forecast is talking about frost, and the car you've been nursing through the last few dry weekends suddenly looks like a liability. So it gets parked. And then, for four or five months, it just… sits.
That's the bit worth planning for. Not the parking — the sitting. Because a car that isn't turning a wheel is still doing things: rubber is taking a set, damp air is finding bare aluminium, spigot rings are quietly corroding themselves into wheel bores, and the nuts you torqued so carefully in September will be a different proposition in April. None of it is dramatic. All of it is avoidable.
Wheels on, or wheels off?
Both are legitimate. The question is which one you'll actually finish.
Leaving the wheels on is the simpler option and suits most people with a lock-up and a battery conditioner. The car stays mobile, the suspension stays loaded the way it was designed to be, and there's no risk of a set of Minilites getting knocked over in a crowded garage. The trade-off is that four contact patches carry the same load for months on end, and the hub faces are hidden away where you can't keep an eye on them.
Taking them off is better for the tyres and lets you clean and protect the mating surfaces properly. But it only works if you've got somewhere sensible to put them, and if the car is going to sit on axle stands, remember that a lot of classics have rubber bushes that prefer to be under load — a car dangling on its springs for five months isn't ideal. If you go down this route, stands under the suspension rather than the chassis is usually the kinder arrangement.
If the wheels stay on the car
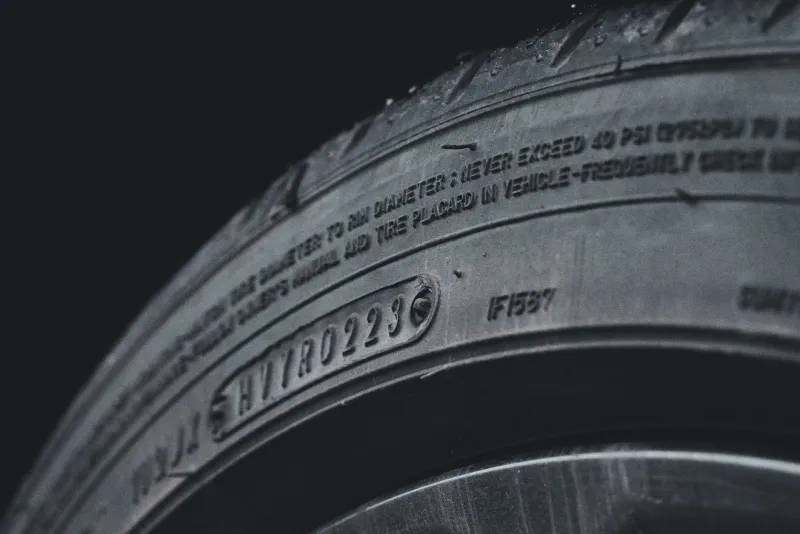
Pump them up. Something in the region of 45 psi is a common lay-up figure — high enough to hold the sidewall shape and spread the load, not so high that you're stressing anything. Check the maximum on the tyre sidewall and stay under it. Write the pressures down somewhere, because in March you will not remember what you set.
A set of flat-spot cradles is the proper fix, and they're cheap enough that there's little excuse not to. If you haven't got any, the old trick still works: roll the car a foot or so every couple of weeks so a different part of the tread takes the weight. It's ten seconds of effort and it's the difference between a tyre that thumps for the first twenty miles and one that doesn't.
Give the wheels a proper wash before the car goes away. Brake dust is nasty stuff when it gets damp, particularly on a polished or painted finish, and the inner barrel is where it collects unnoticed.
Leave the handbrake off. Chock the wheels, put the car in gear, and let the rear brakes sit slack. Pads that have been pressed against a damp disc since November are a classic source of a binding wheel in spring.
Then cover it with something breathable. A plastic tarp over a car in a cold garage is a condensation trap with a lid on.
If the wheels come off
Label them. Front-left, front-right, and so on, especially if the tyres are directional or have worn unevenly. A strip of masking tape on the inside of the rim does the job.
Stack them flat, tyre against tyre, or hang them properly on a rack. Standing a wheel upright on its tread for months puts a point load on one spot of the tyre and is worth avoiding. Keep them out of direct sunlight and away from anything with an electric motor — old bench grinders, welders and compressors are sources of ozone, which is unkind to rubber.
The hub face, the spigot ring and the fasteners
This is the section that matters most on a Minilite conversion, and it's the one most people skip.
Clean the hub face on the car and the mating face on the wheel. A wire brush, a bit of brake cleaner, and a thin smear of grease on the hub face only — enough to keep the rust at bay, not enough to leave a film thick enough to affect seating. Keep grease away from the taper or radius seats of the wheel nuts, whatever type you're running. Those need to be clean and dry so the torque you apply actually means something.
Spigot rings deserve their own mention. They sit in the wheel bore, they're often aluminium or a soft plastic, and they're exposed to everything the road throws at them. Over a winter they can corrode into place nicely. Take them out, clean them, dry them, and refit them dry or with the lightest possible film of grease — just enough to stop them seizing, not enough to have them dropping out on the driveway. If one is already tight, work it out gently rather than attacking it with a chisel.
Bag the wheel nuts and label them. Clean the stud threads and give them a wipe of light oil, not copper grease. And wind your torque wrench back to zero before it goes in the drawer.
Damp is the enemy, not cold
Cold on its own does very little to a wheel. Cold plus moisture is what dulls polished rims, bubbles centre badges and turns a clean hub face into a crusty one.
So ventilate. A garage with the door cracked open on a dry, breezy day will be drier than one sealed up tight. A dehumidifier on a humidistat is money well spent for anyone storing a car on a concrete floor, because concrete wicks moisture up and holds it. A vapour barrier under the car — a sheet of damp-proof membrane will do — helps more than people expect.
And check the centre caps before you shut the door. Water sitting behind a badge over winter is how you end up with a pitted insert and a slightly sad-looking wheel in spring.
The spring recommissioning order
Don't just fire it up and go. Work through it in this order and you'll catch most problems before they become expensive.
- Pressures first, before the car moves an inch. Adjust cold.
- Look at the hub faces as you refit or uncover the wheels. Any corrosion, clean it off and re-grease lightly.
- Torque the nuts in sequence to the correct figure for your studs and nut type — not to whatever the last owner said.
- First drive short and gentle. Brakes will be rusty and will need a few applications to clear; don't do your first run on a motorway.
- Re-check the torque after 25–30 miles. If anything has settled, this is when you'll find out.
- Then check the tyres properly — sidewalls for cracking, tread for anything that appeared over winter, and the date codes if they were already getting on.
If you get a vibration on that first proper drive, don't immediately blame the wheels. Nine times out of ten it's a spigot ring that hasn't seated, a hub face with a bit of debris on it, or a nut that's backed off a fraction. Revisit the basics before you start buying parts.
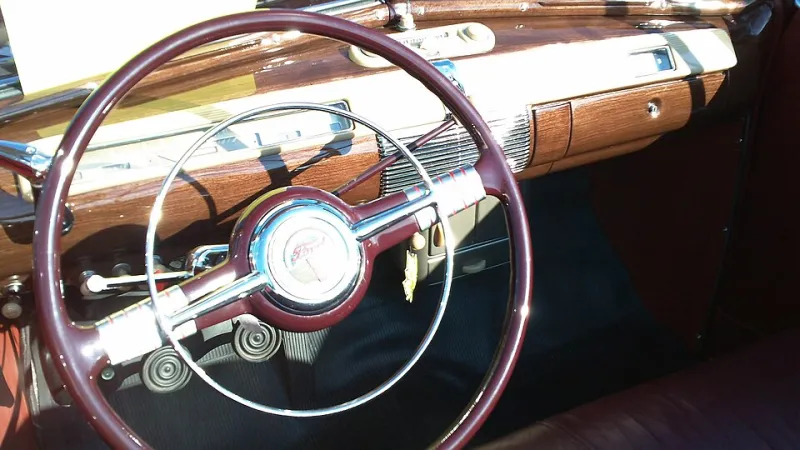
One last thing: stick a luggage tag to the steering wheel with the date, the pressures you set and anything you want to remember. Future you, standing in a cold garage in March, will be grateful.