Caps, Clips and Clues: How Minilite Centre Badges Reveal a Wheel's True Age
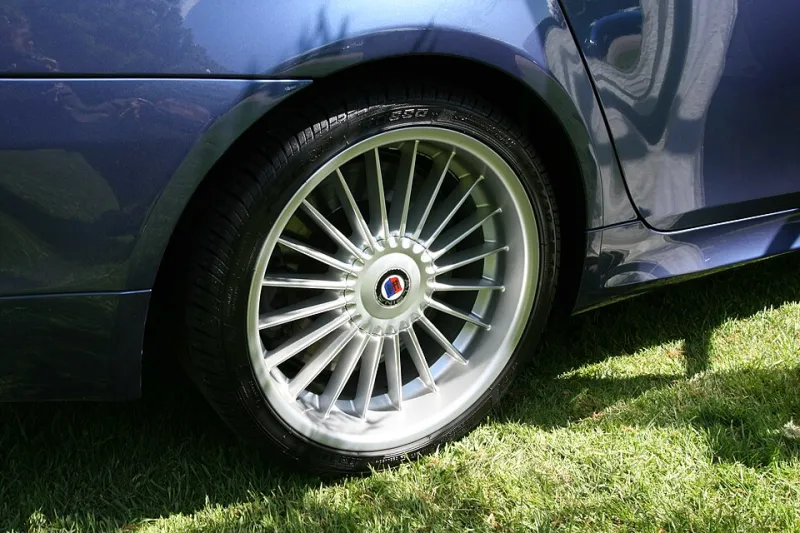
Photo: Magnus Bäck, Public domain, via Wikimedia Commons
There is a particular moment at every autojumble when a seller taps the centre of a wheel with a fingernail, squints, and says something like 'that's an original cap, that is.' Half the time it is a genuine observation. The other half it is hopeful salesmanship. Either way, the centre cap has become one of the quiet indicators in the classic car world, and if you are buying or restoring Minilites it pays to know what you are looking at.
The Smallest Part With the Longest Memory
Wheels get refurbished, tyres get swapped, kerbs get kissed. Centre caps, meanwhile, get lost, replaced, borrowed from a mate's shed and occasionally glued back on with whatever was within reach. That is exactly why they are useful. A cap that has survived untouched on a wheel for decades carries the fingerprints of its era, while a shiny new one sitting on a supposedly period rim tends to stand out like a fresh tattoo on a vintage motorbike.
On Minilites specifically, the centre cap has always been a bit of an afterthought in the design, and that is part of the charm. The wheel itself is the star; the cap is the collar and tie.
A Short History in Small Badges
Minilite wheels came out of the 1960s competition scene and quickly became the default upgrade for anyone who wanted lighter, stiffer wheels without paying magnesium money. Over the following decades the wheels were made in different batches, by different hands, and under different arrangements, and the centre caps followed suit.
Broadly speaking, the earliest caps tend to be simple things: a plain alloy disc, sometimes with a single-colour logo stamped or etched into the face, sometimes with nothing on them at all. As the years went on, the branding became more confident, with coloured enamel-style badges, domed resin finishes and eventually printed logos under a clear layer. Modern replacement caps, by contrast, are usually crisp, uniform and laser-etched or pad-printed to a standard that would have been unthinkable in a small British workshop in 1972.
There is a useful rule of thumb here: the older the cap, the more it looks like a small piece of industrial design and the less it looks like a marketing asset. If a cap on a supposedly period wheel is razor-sharp, perfectly centred and has a finish you could shave in, be a little sceptical.
Bear in mind that caps alone will not settle an argument about a wheel's age. Casting marks, stampings around the rim, the shape of the spoke root and the general machining quality all matter just as much. Use the cap as one clue among several, not as a verdict.
Matching Caps to the Right Wheel
Fitment is where most owners come unstuck, usually after buying a set of caps at a show and discovering they rattle around in the centre bore like a marble in a tin can. Minilite-style wheels have been made in a wide range of centre bore sizes over the years, and the caps that fit one batch will not necessarily fit another.
The first job is to measure. Not eyeball, measure. Get a set of calipers on the centre bore of the wheel and on the spigot of the cap, and check the depth as well, because a cap that sits proud of the face looks wrong and one that fouls the hub nut will not sit flat. Some caps are a push fit, held by friction or a small sprung clip ring; others are threaded and screw in; a few are held by small screws or rivets. Know which type your wheel takes before you spend money.
If you are replacing a single lost cap on a set of four, try to match the finish of the surviving three rather than buying a full new set. Slight differences in logo style and sheen are far less noticeable than one gleaming outlier.
Keeping Them Attached
Centre caps go missing for two reasons: they work loose, or someone helps them along. A little prevention on both fronts is worthwhile, especially on a car that lives outside or gets parked in town.
For push-fit caps, a thin bead of non-setting sealant around the spigot is a well-worn trick. It holds the cap without making it permanent, so you can still remove it with a firm pull when you need to. Avoid anything that sets hard; you will regret it the first time you need to get a socket on the hub nut at the roadside.
For threaded caps, a dab of medium-strength threadlock is usually enough. Do not go near the high-strength stuff unless you enjoy drilling.
On the security side, there is a balance to strike. A determined thief will get a cap off whatever you do, but you can make it tedious enough that they move on to the next car. Small stainless grub screws, security Torx fasteners or a discreet engraving or paint mark on the inside of the cap all help, and none of them ruin the appearance of the wheel.
If your car is a regular at shows, one popular routine is simply to remove the caps for the day and refit them at home. It sounds fiddly, but it removes the temptation entirely and gives you a chance to clean behind them.
The Finishing Touch
A set of Minilites looks finished with the right caps and slightly unresolved without them, which is why it is worth spending an afternoon getting this small detail right. Match the style to the era, measure before you buy, secure them sensibly and accept that the odd cap will still go missing over the years. When it does, at least you will know exactly what you are looking for.