Nuts, Studs and the Right Torque: A Minilite Fastener Safety Briefing
Minilites look right on almost anything British and rear-drive, but the bits you barely notice — nuts, studs and the torque figure you last used — are what keep them attached. Get the fastener package wrong and you can end up with loosening, damaged seats or a wheel that never feels settled, even though the rims themselves are fine. This is the unglamorous side of fitment, and it is worth an hour of your time.
Start with the seat, not the thread
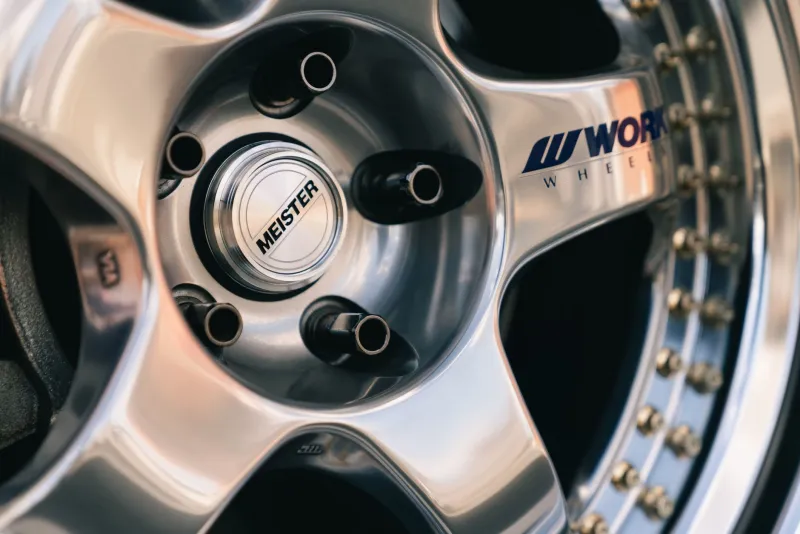
A wheel nut does two jobs: it clamps the wheel to the hub, and it centres or locates it. The clamping happens at the seat — the face of the nut that presses into the wheel. Minilites, like most alloy wheels, are usually drilled for either a tapered seat or a flat seat. Those are not interchangeable, and mixing them is one of the most common ways to damage a nice set of wheels.
A tapered nut has a conical face, normally 60 degrees. It sits into a matching tapered recess in the wheel. A flat-seat nut has a flat face, often with a captive washer, and bears on a flat machined pad around the hole. If you put a tapered nut on a flat-seat wheel, contact is tiny and the nut can chew the alloy. If you put a flat nut on a tapered wheel, it may not self-centre properly and can loosen. Before you buy anything, look at the wheel and the nut together. The shapes should match like a pair of old spanners.
Tapered, flat or sleeve: knowing what you have
Classic Minilite fitments turn up with several fastener arrangements. Tapered nuts are the familiar option on many four-stud classics. Flat-seat nuts with washers appear on some later or specific applications, and sleeve nuts are used where the wheel needs a longer reach or a particular stud arrangement. Sleeve nuts are not a styling choice; they are a system. They need the correct stud length, the correct thread and enough engagement to clamp safely.
If you have bought secondhand Minilites, do not assume the nuts that came in the box are correct. Put one nut into one hole and check the contact pattern. A correct seat shows a clean, even ring of contact. A wrong one shows a narrow line, a shiny high spot or fresh gouging. That five-minute check is cheaper than a replacement wheel.
Stud length and thread pitch: the quiet deal-breakers
Stud length matters more than many owners realise. Too short and you do not get enough thread engagement; too long and the nut can bottom out before it clamps the wheel. As a rough guide, you want full thread engagement through the nut, but the final answer depends on the nut and wheel combination. If you have changed from steel wheels to Minilites, or from one Minilite offset to another, recheck the studs rather than assuming the old ones are fine.
Thread pitch is the other trap. Older British cars can use imperial threads, while later hubs and conversions may be metric. A nut that starts by hand but feels tight early on is a warning, not a victory. Never force a nut onto a stud. Clean the threads, check the pitch and use the correct fastener. Cross-threading a stud is annoying; losing a wheel because a nut was never properly engaged is a different league altogether.
Torque figures: use the wheel's spec, not the hub's habit
Torque is where folklore does the most damage. The figure for a steel wheel on a steel hub is not automatically right for an alloy Minilite. Alloy wheels often need a specific torque and a specific tightening sequence, and the wheel manufacturer's recommendation should win over a mate's remembered number from a different car.
Use a calibrated torque wrench, not a wheel brace and a good guess. Tighten in a star pattern in stages — snug first, then final torque — so the wheel pulls down evenly. Do not lubricate threads or seats unless the fastener supplier specifically says to; grease changes the relationship between torque and clamp load and can lead to over-tightening. And do not use an impact gun for final tightening unless you are certain of the setting and the fastener system is designed for it.
The UK mistakes we see most
First, mismatched seats. It happens when owners buy a set of shiny nuts from an autojumble or online listing without checking the wheel recess. Second, reusing tired nuts with rounded shoulders or worn washers. Third, ignoring stud condition — rust, stretched threads or a previous owner's cross-threading. Fourth, tightening one nut fully before the others are snug. Fifth, assuming the torque figure from a modern alloy applies to a 1970s hub and a Minilite.
There is also the salt-and-brine factor. A UK winter exposes fasteners to moisture and road salt, and a nut that was fine in September can feel gritty by January. Clean threads and a light check before the MOT season are not fussy; they are basic upkeep.
A five-minute checking routine
Once a month, and before any long run, do a simple walk-round. Check each nut by hand for looseness, then use the torque wrench at the correct setting. Look for rust streaks, fresh alloy dust or a shiny ring around the seat. Those clues often appear before a nut actually loosens. Spin the wheel with the car jacked and supported safely, and listen for anything odd. If a nut repeatedly needs tightening, stop and investigate — do not simply keep torquing it and hope.
Keep a note of your fastener specification: seat type, thread, stud length, torque figure and the date you last checked. It sounds dull, but it turns a vague memory into a reliable baseline. Minilites deserve proper fasteners. Get the small parts right and the wheels can do what they were designed to do: look sharp, stay light and keep you confident on a British B road.